Earlier today, at
Chez Hoppo Bumpo ...
Me:
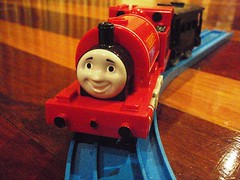
What do you think this is, boys?Bargy
: HammerArgy:
TractorMr HB:
FreakyAlthough a bit offended, I do admit
Mr HB had a point (though I won't even try and work out what
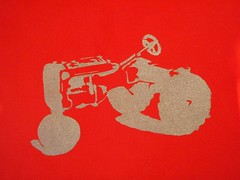
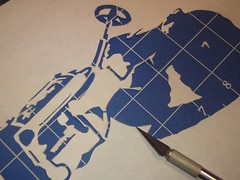
Bargy was thinking). I couldn't find a suitable digger image to try out this week, so settled for a funny little toy tractor. For reasons that will become apparent, the tractor stencil ended up being rather abstracted. Something that looked better from far away - far,
far away. Still, I don't mind sharing my warts-and-all stencil with you - its all part of the fun.
Creating a stencil from a photoSo to give a bit of background ...
This last week,
my goal has been to create a stencil from a photo. There are lots of
great tutorials about that advise how to do this, should you be the proud owner of Adobe Photoshop. As I don't have Photoshop, I decided to see if there was something else I could make do with.
When creating a stencil from a photo, the aim is to flatten the image back to just two colours - black and white. During the week I read that Microsoft Word might be suitable.
Here's what I did ...
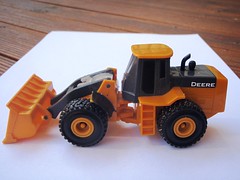
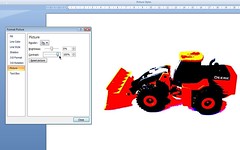
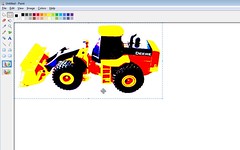
First, I selected a photo image of a vintage tin toy tractor from the Microsoft Clipart gallery (which was disappointingly light-on for good diggers, exacators and backhoe loaders). You could, however, insert any photo into a Word document.
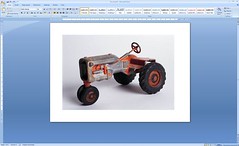 I am using Microsft Word 2007
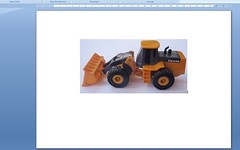
Next I used a quick-and-dirty method for converting the image to two colours. After selecting the picture and selecting
Format picture >
Recolor >
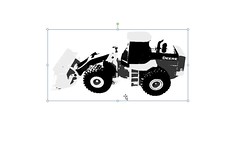
Black and white, the image was reduced to black and white. Nifty, huh?
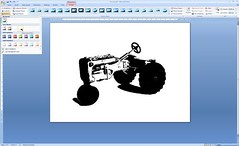
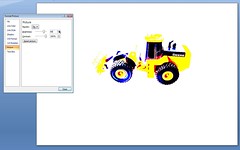
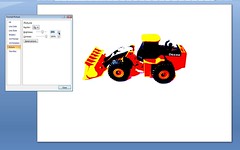
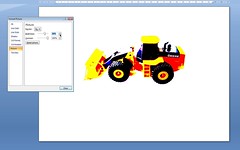
Well, actually the image was a little flat, having lost some its highlights. You'll notice this around the tyres in particular. Depending upon your image this may or may not matter. In this case, I think it would have been nicer to have a bit more definition around the wheels. (I suspect if I'd experimented with brightness and contrast - found under
Format picture - it might have made a difference too). Never mind - onward ho!
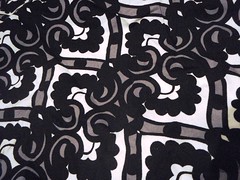
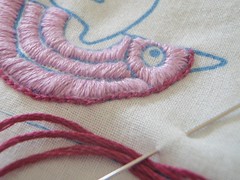
EDIT: More on brightness and contrast at this subsequent post (10/10/08).Tracing and cuttingNext I traced the image onto a piece of freezer paper.
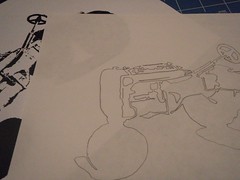
At this point I manually smoothed out the image and dispensed with teeny dots all over the place. I could have taken the opportunity to redraw some of the stencil in parts to give more definition to the wheels ... but didn't! I also took care to try eliminate islands wherever possible. An island is a blocked part of the stencil that isn't connected to the main stencil in any way. It "floats".
In fact islands aren't too hard to manage when you are using freezer paper, as they are effectively stuck in place during the stencilling process. But they are easily lost during cutting out and annoying to position. So best to get rid of them by creating "bridges" to them in the main stencil. I was able to do this in all but two places. The steering wheel has a number of tiny little bridges just a couple of millimetres wide.
Cutting out the stencil was the lengthiest step in the whole process. Its so hard to watch
Law and Order and cut out at the same time. You're sunk if you don't pay attention at the start; you'll have no idea what is going on. This applies to both
Law and Order and the stencil.
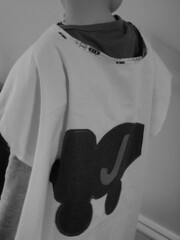
 Fusing and painting
I was very pleased to find that with the iron temperature nice and hot and all water emptied from the iron, that the freezer paper stuck down nicely this week. I did however need to take care to really press down on the fine little bridges and not accidentally move them sideways with the iron. After this the painting was a cinch.
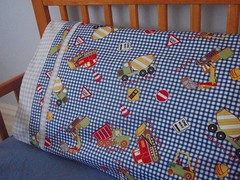
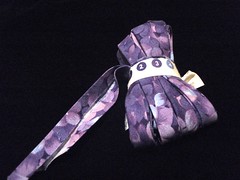
Another stencil completed; another cushion for
Argy (who after all,
was the only member of the family who correctly identified this as being a tractor. But then, going by recent history, maybe that's
not saying much).
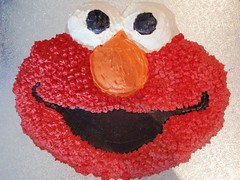
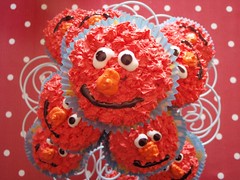
Goals for next weekI am still aiming to find a decent digger to stencil. I wouldn't mind carrying out some experiments to see if it is possible to get a better result using just Microsoft Word to edit a photo. Any suggestions welcome. It might be nice to try multiple colours in one stencil. Can you believe how amazing
this one is?
So, this is what I am hoping to do for the last week of the stencil-along:
- Research the function of brightness and contrast in creating a successful photo-derived stencil
- Create a digger stencil
- Create a multiple colour stencil
Have you been stencilling too? How are you going? I'll pop round to take a look! To see more stencils, head over to the sidebar and check out the links.